The Skeleton
There were a number of things that needed to be fixed to form the skeleton of the room before I started designing the study part of the room.
Salt damp– knocking out loose plaster, brushing it free from damp effected brick and stone will be the first place I start. Setting it with water and pva glue in a spray bottle, so that the loose crumbles of cement are held in place. Applying a ‘dash coat’ of cement to bond the cement then, start plastering, filling in gaps which are visible elsewhere in the room, making sure everything is flush. (Froling, 2017)
-

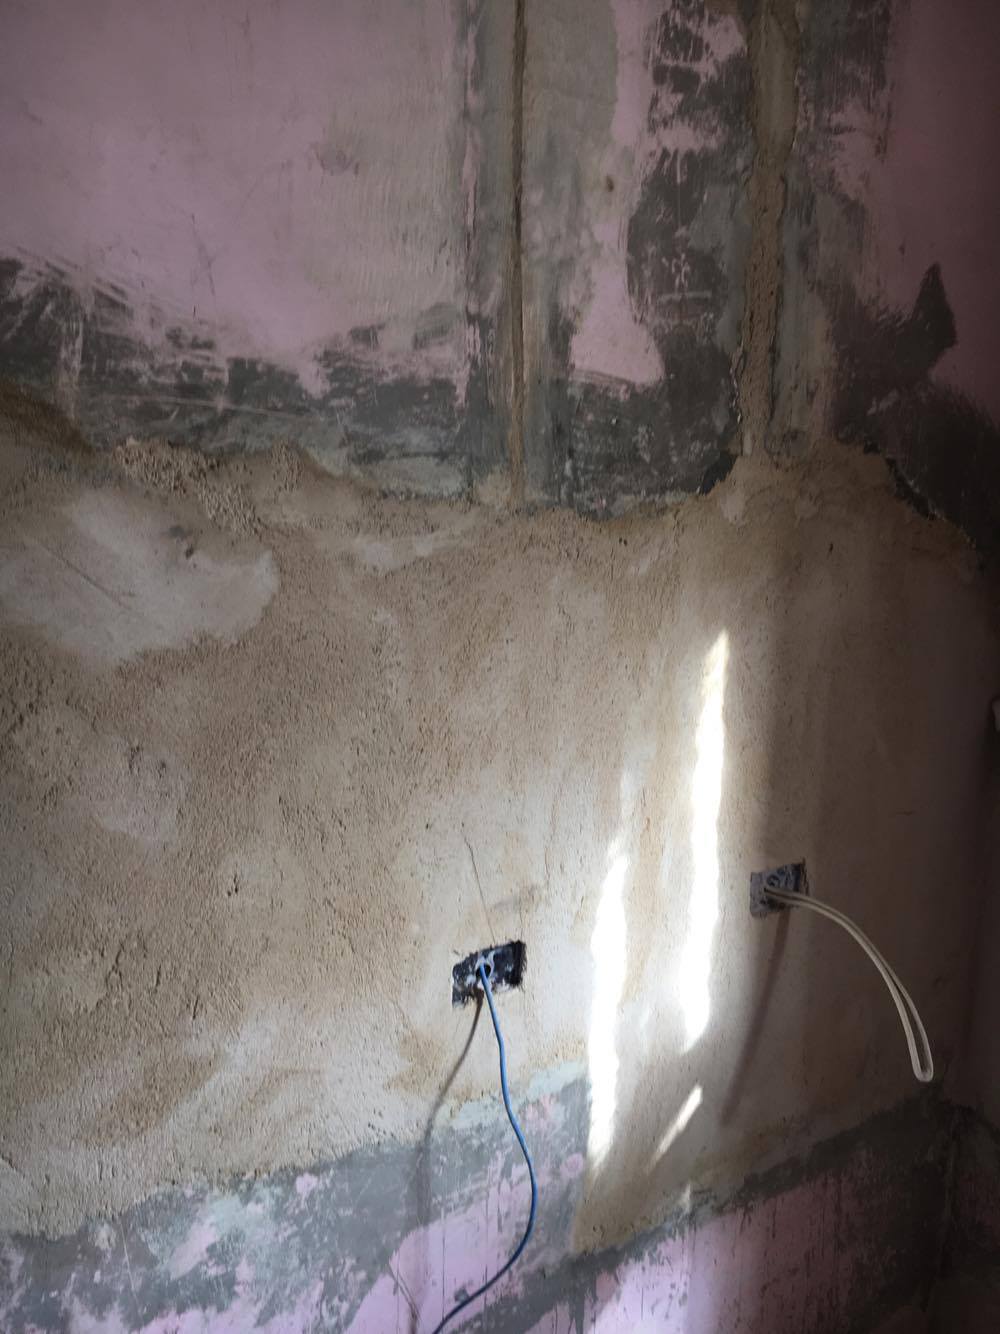
- Salt damp

-
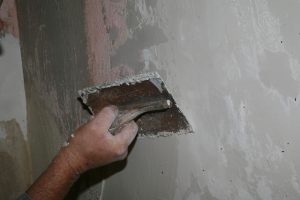
- Plastering after cleaning salt damp

-

- New outputs
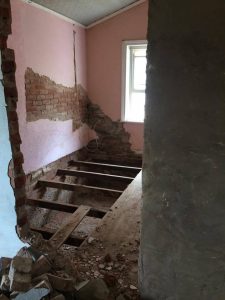
Flooring- half of the floorboards were already out because of white ants and previous plans of renovations. For this renovation I decided to pull out the rest of the floor boards and replace with termite proof particle board which were cut to size, glued and nailed in place. This gave the floor a smooth surface for the floor covering I decided to use, whether it be floating floorboards, carpet or lino. (Froling, 2017)
-
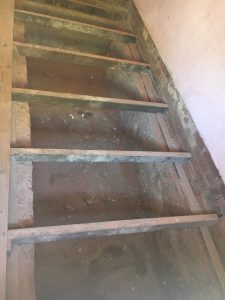
- Flooring removed

-
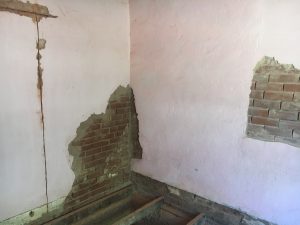
- Salt damp and removed flooring

-
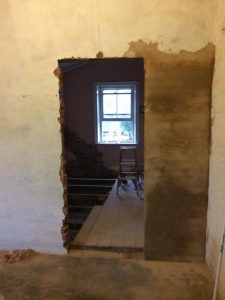
- Looking through new door

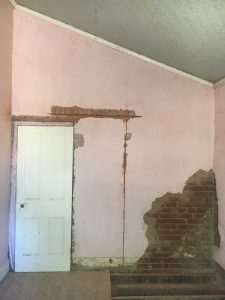
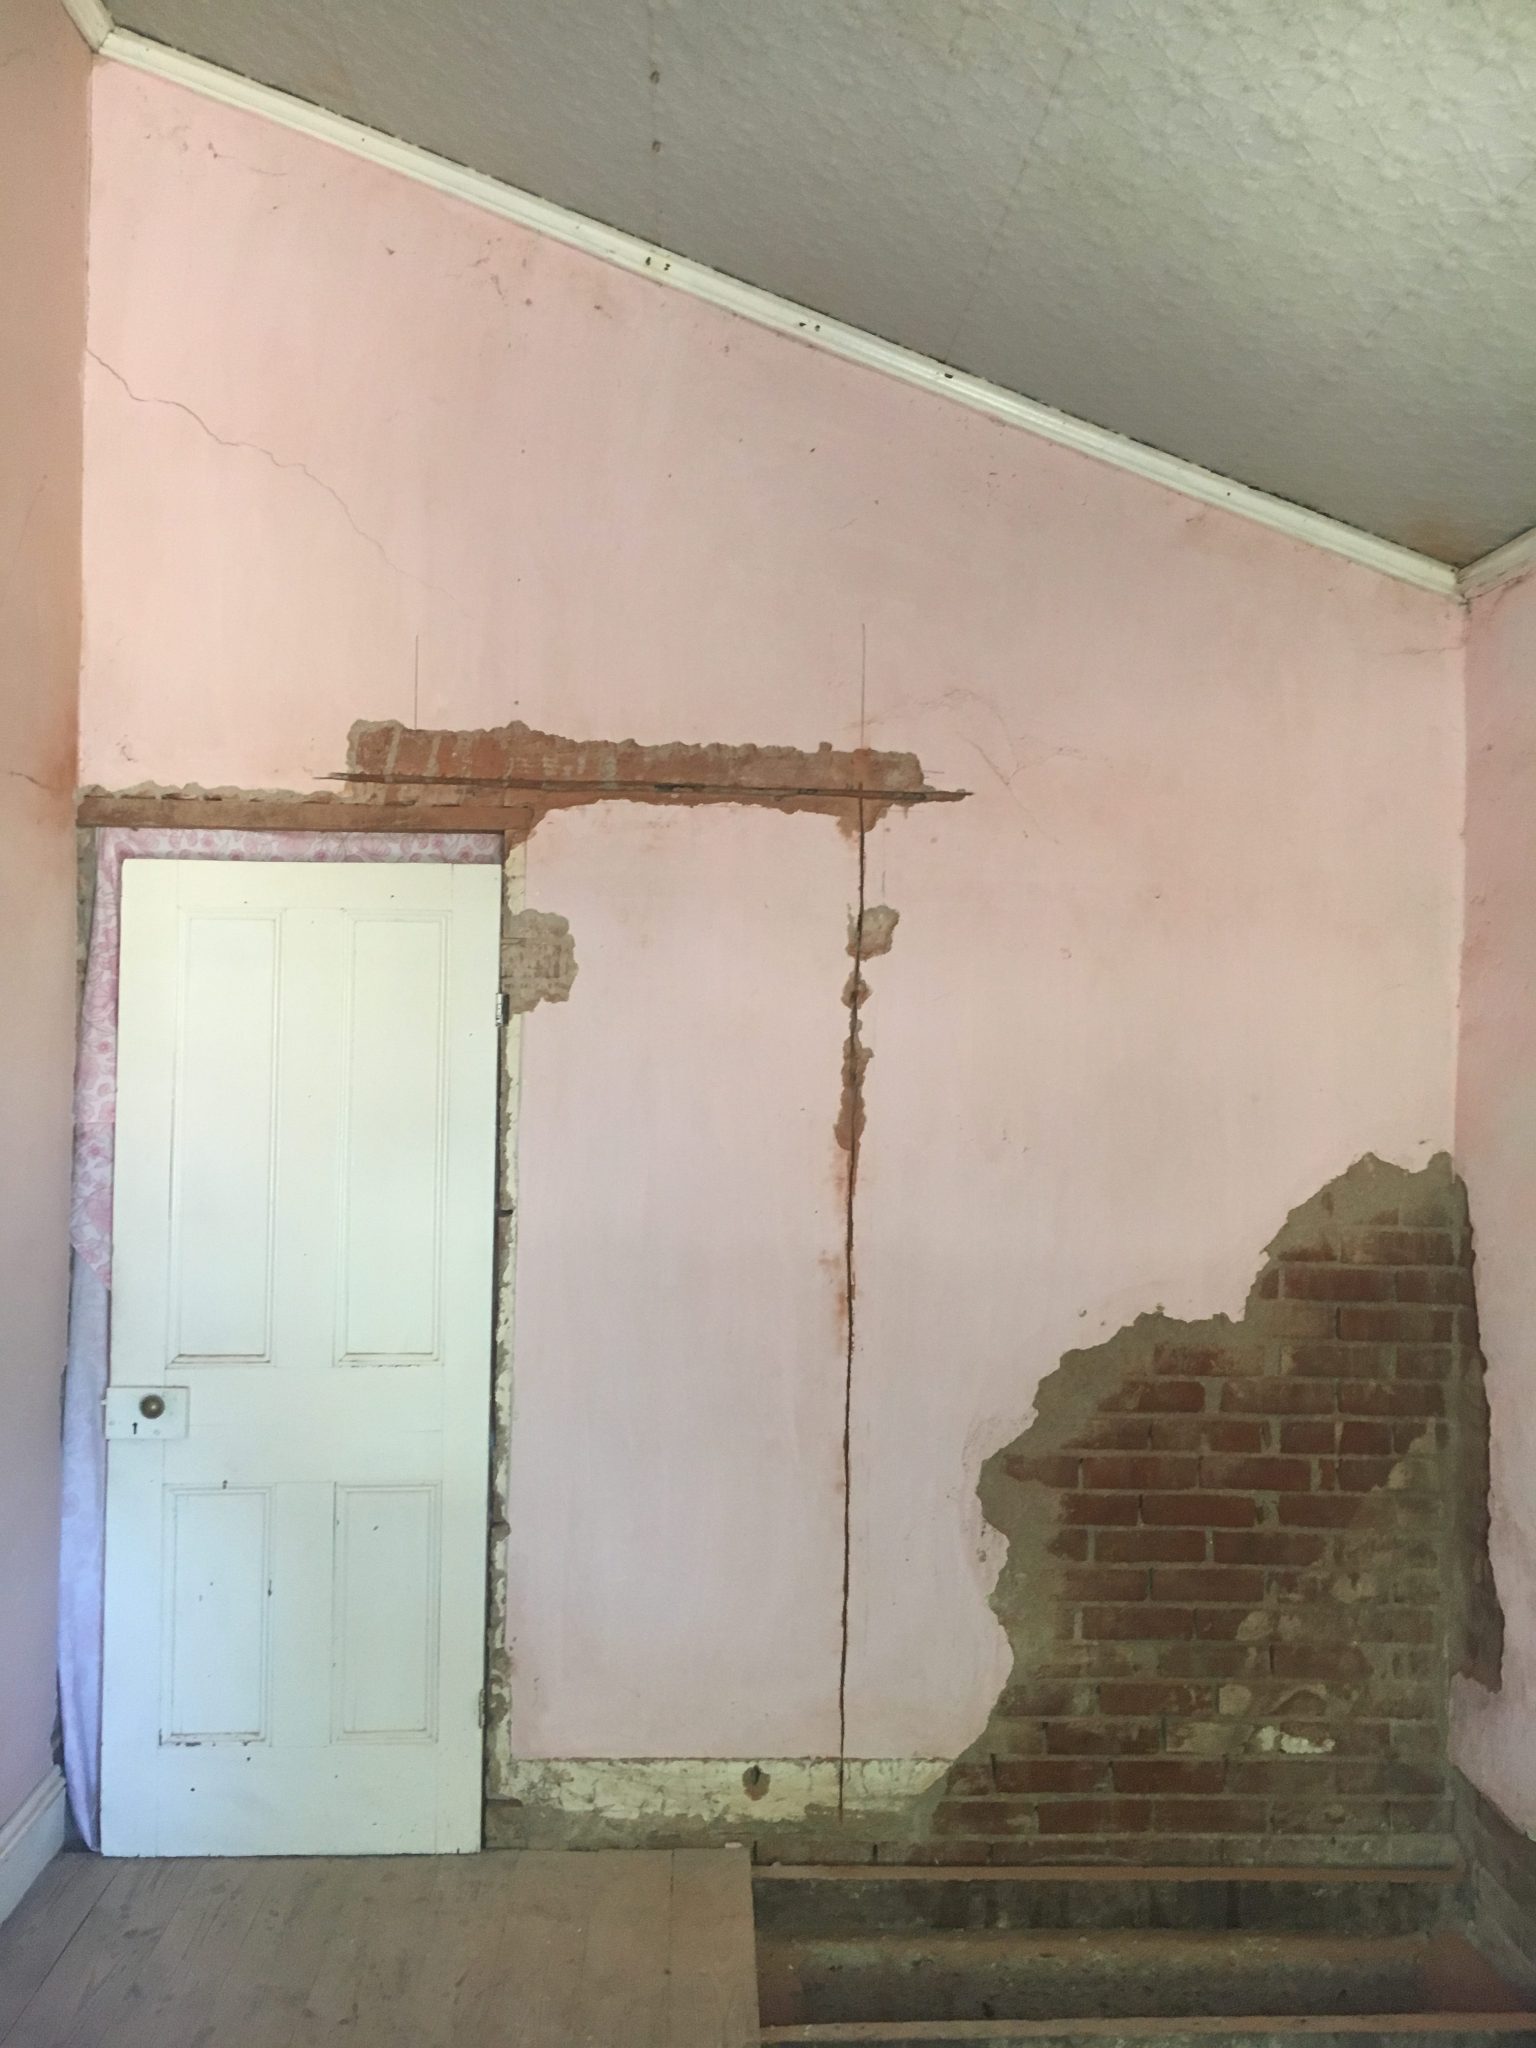
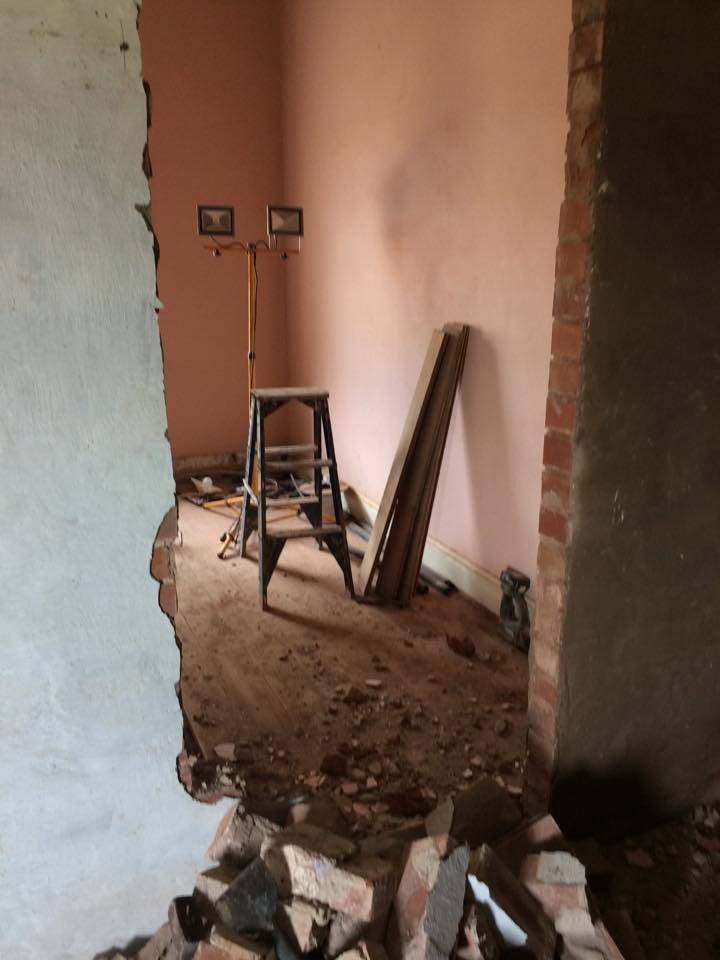
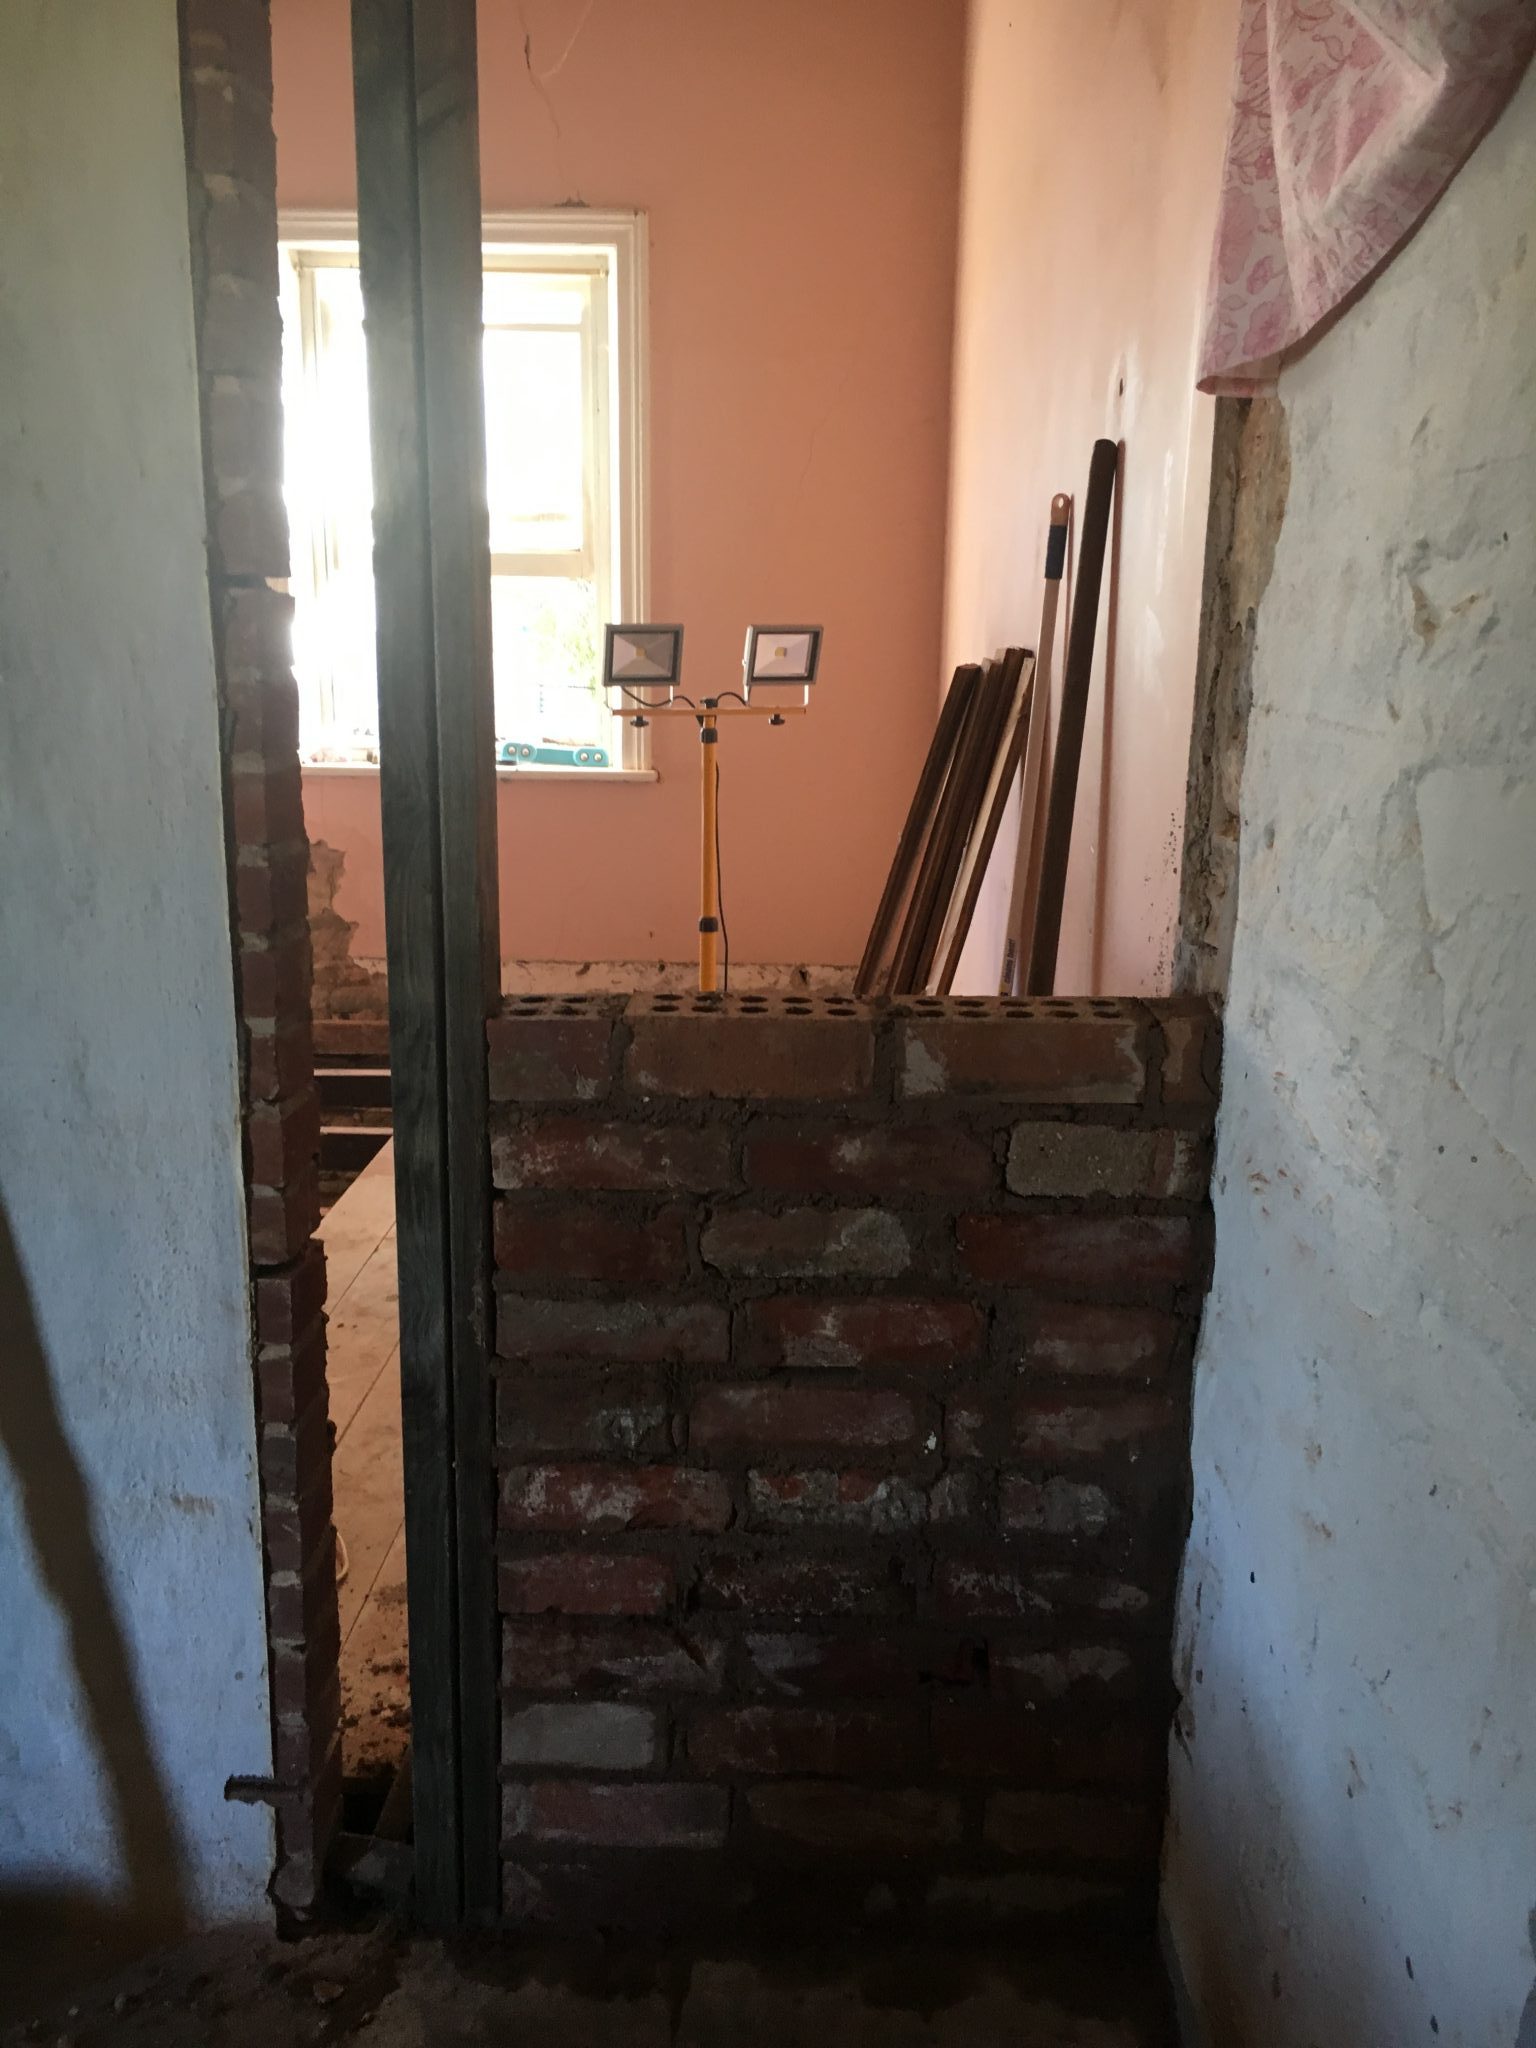
Moving the Door- when the house was built, at least 100yrs ago, many of the doors were put close to the wall, hugging it, making the door open right against the wall. I made the decision to move the door, which allows for better entry to the room and also giving more options for storage on both sides of the room. This was done by bricking up half of the original door opening and taking out a section of the wall to effectively move the doorway. A lintel was added to support the bricks above. Once again, plastering the bare brick, which has been added. (Froling, 2017)
-
- Grinding out the shape of the door way
-

- Knocking the doorway out
-
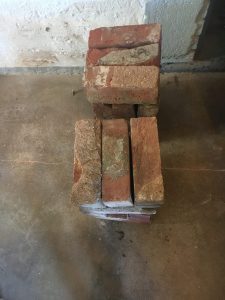
- Using recycled bricks

-

- Bricking up the old doorway
-
- Clear, new doorway and plastered wall

From here I sanded off the plaster making it ready for a coat or two of wall primer (depending on your original wall colour and as to how dark it was). Then you start painting with your chosen colour, keeping in mind you will need to do more than one to make sure all areas are covered evenly. (Froling, 2017)
-

- Showing original colour, touch up plaster and primer paint

-

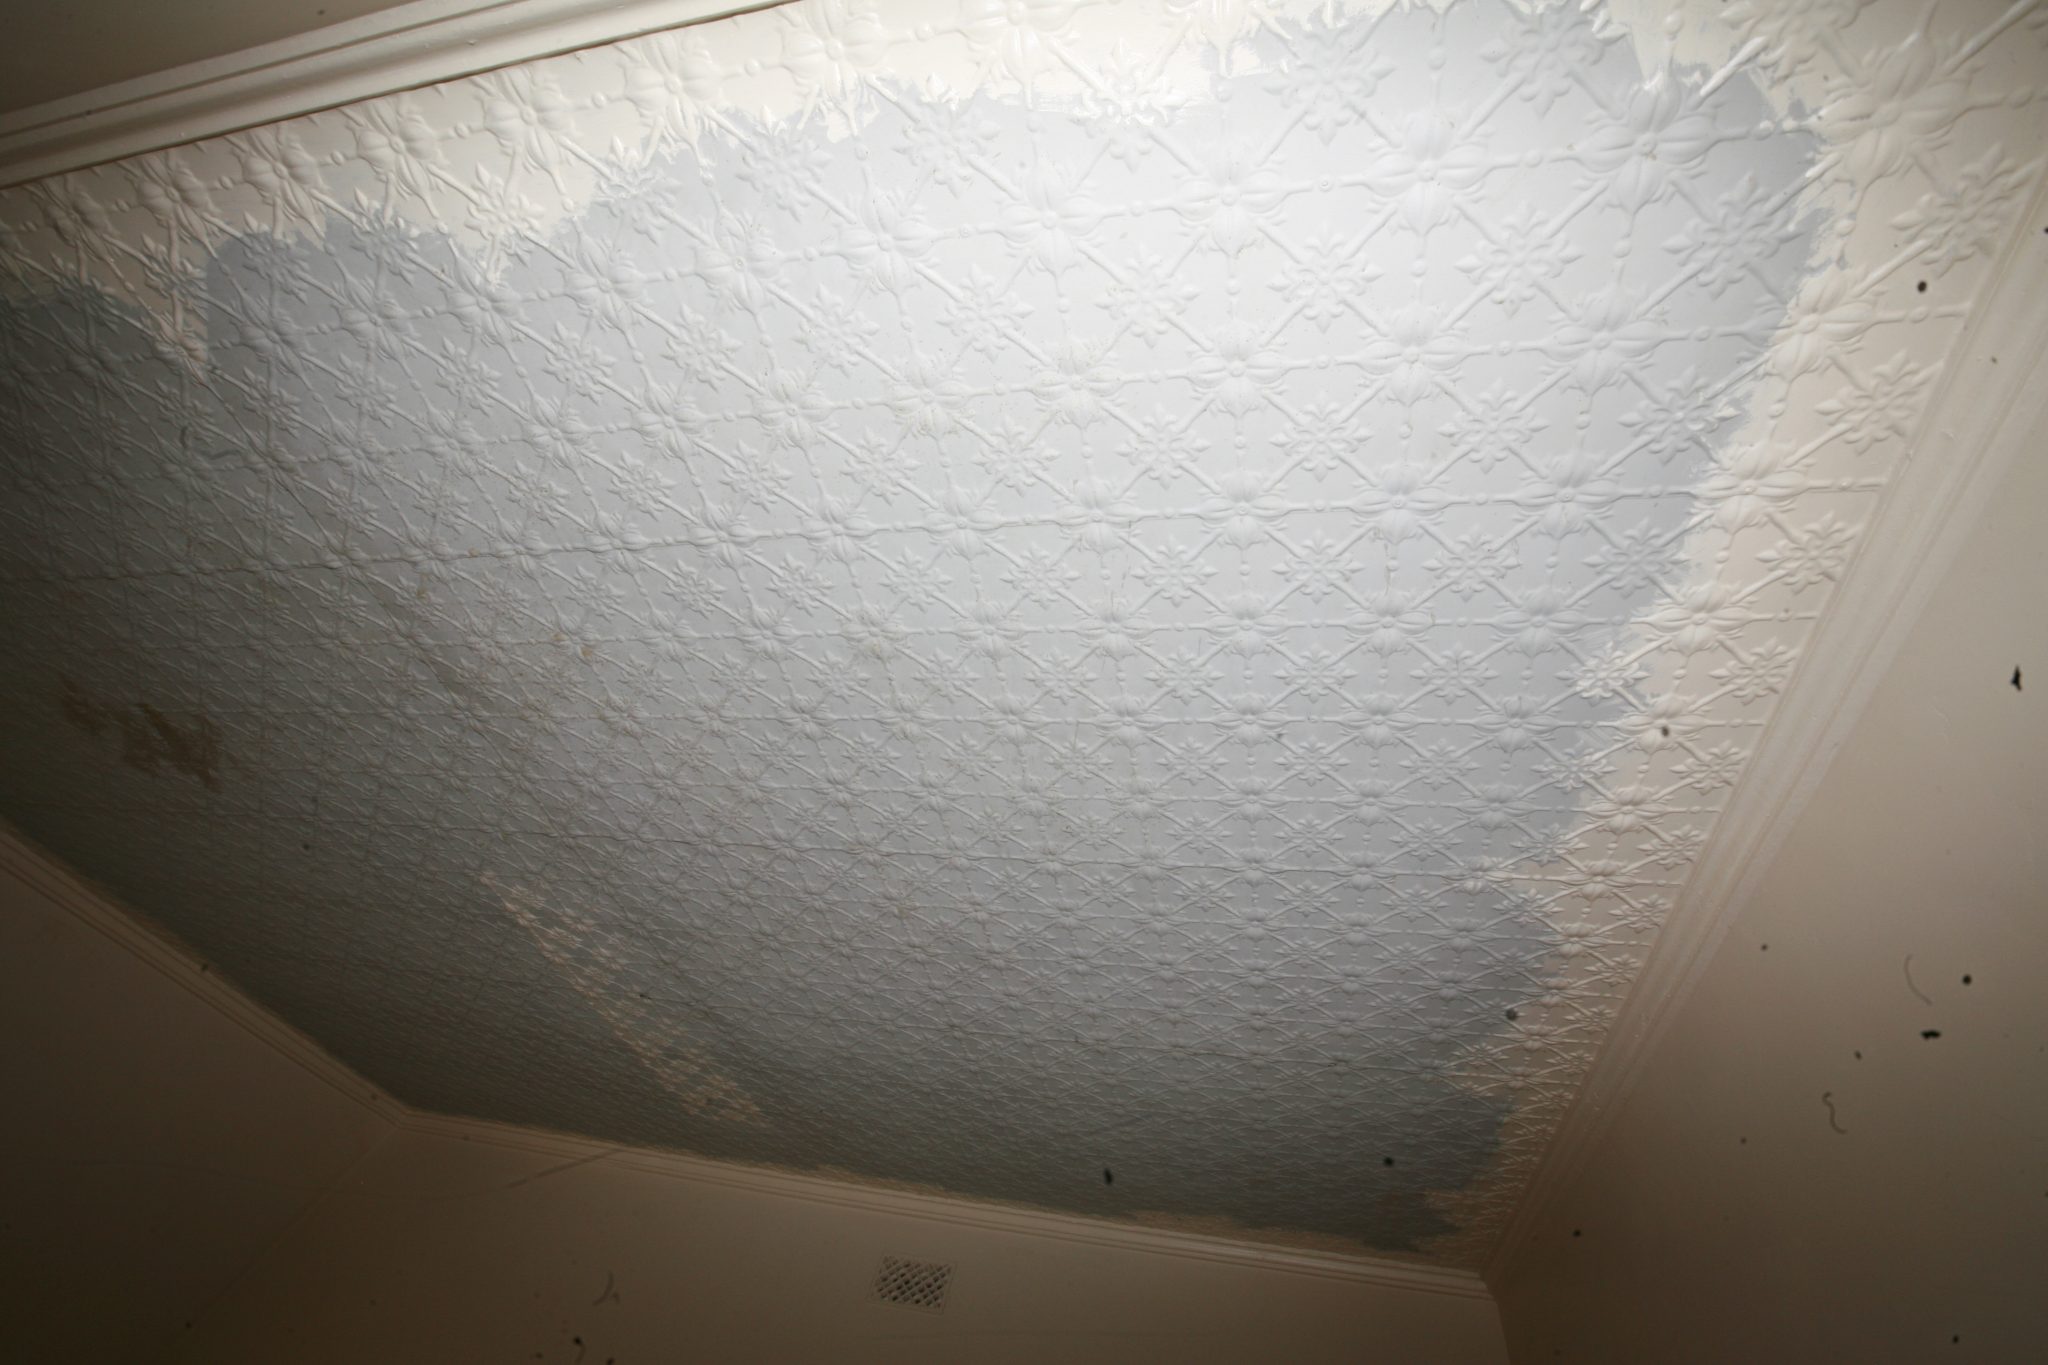
- Pressed tin ceilings
-
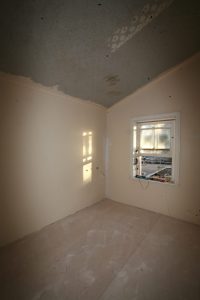
- Finished primer on walls

*Hyperlinks attached to some of the words allows for extended information
Move onto the ‘Colour Psychology’ post for further information.